COMPSCI180_website
CS 180 Project 3: Face Morphing
Part 1: Defining Correspondences
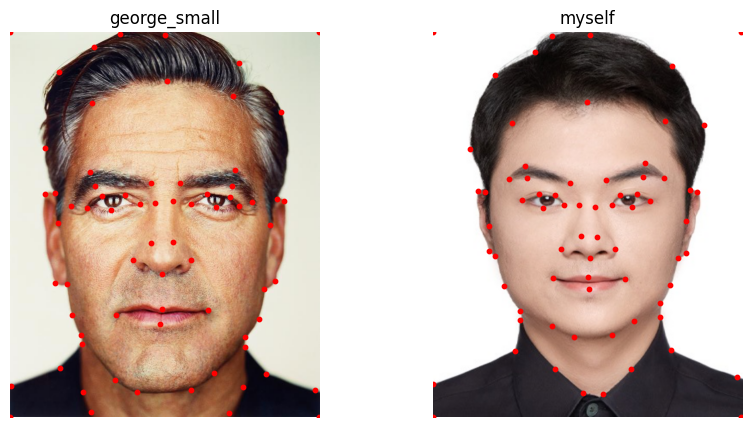
I used the provided online tool to select keypoints for both of myself.jpg and george_small.jpg. I also added the corners of the images as additional keypoints for better performance.
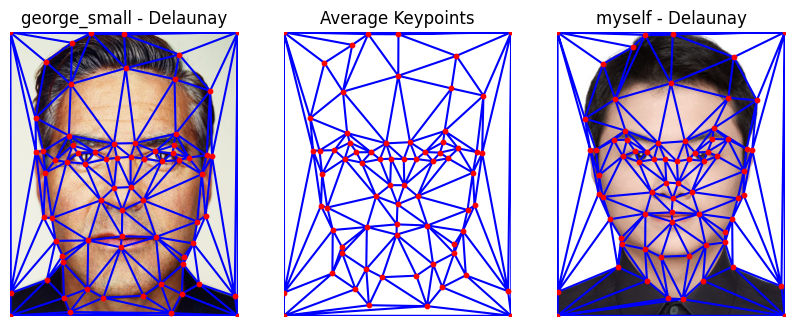
I used scipy.spatial.Delaunay to compute the Delaunay triangulation. To ensure that the triangulation of keypoints is consistent between two images, I modified the plot_delaunay function to accept an optional triangulation parameter.
If this parameter is provided, the function will use it to plot the Delaunay.
Part 2: Computing the “Mid-way Face”
This part we need to align the input image to a set of target points’ average positions through an affine transformation. The process consists of the following steps:
- Triangulation: Perform triangulation on the source points and target points to execute affine transformations within each triangle.
- Bounding Rectangle Extraction: For each triangle, calculate the minimum bounding rectangle that contains the triangle and extract the image region within this rectangle.
- Affine Transformation Matrix Calculation: Compute the affine transformation matrix based on the vertices of the source triangle and the target triangle. The affine transformation can be represented as: \(\begin{bmatrix} x' \\ y' \\ 1 \end{bmatrix} = \begin{bmatrix} a & b & 0 \\ c & d & 0 \\ 0 & 0 & 1 \end{bmatrix} \begin{bmatrix} x \\ y \\ 1 \end{bmatrix}\)
- Applying Affine Transformation: Use
cv2.warpAffineto apply the affine transformation to the extracted rectangular image region, yielding the transformed image region. - Mask Generation and Composition: Create a mask for the target rectangular region to ensure that only the transformed area is composed into the corresponding position of the target image.
-
The matrix form of affine transformation: \(tx\) and \(ty\) are the translation vectors. \(\begin{bmatrix} x' \\ y' \end{bmatrix} = \begin{bmatrix} a & b \\ c & d \end{bmatrix} \begin{bmatrix} x \\ y \end{bmatrix} + \begin{bmatrix} tx \\ ty \end{bmatrix}\)
-
Calculation of the bounding rectangle coordinates: \(i = 1, 2, 3\) represents the three vertices of the triangle. \(\text{src_rect} = \left(\min(x_i), \min(y_i), \max(x_i) - \min(x_i), \max(y_i) - \min(y_i)\right)\)

Part 3: The Morph Sequence
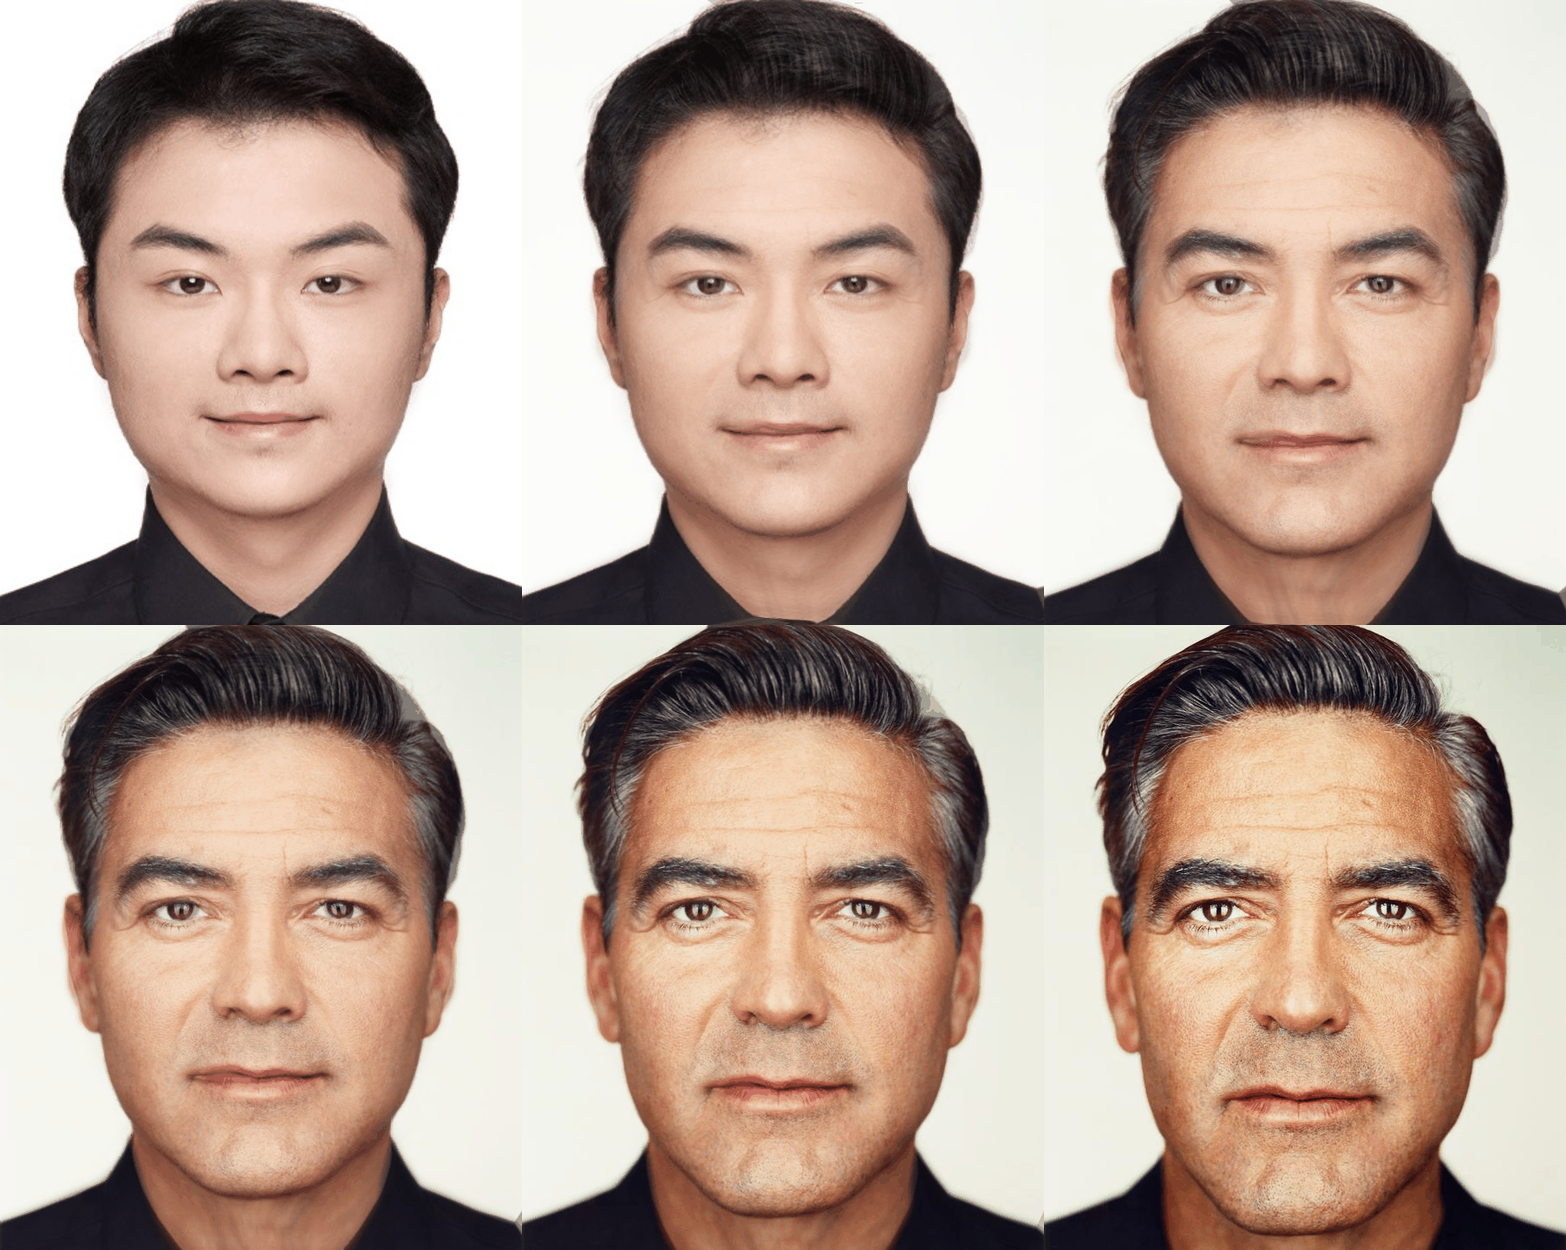
Using a range of weights in [0, 1] I created a morph sequence:
This GIF animation will only play once in Markdown. You can right-click on this GIF to download it for repeated viewing.
Part 4: The “Mean Face” of a population
I used FEI Face Database with 200 faces to compute the average face.
Here is 10 example of the dataset:
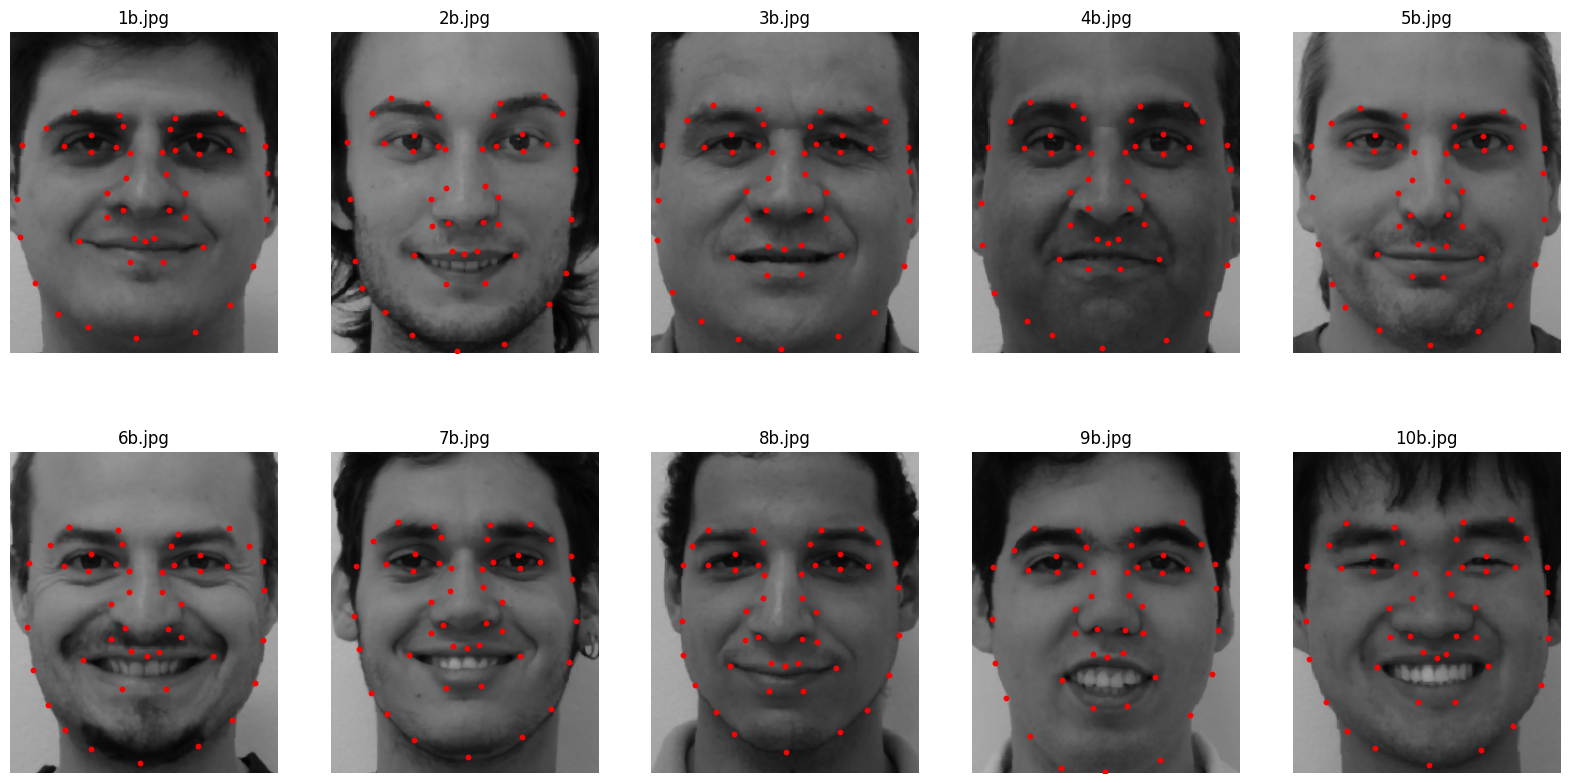
Then I computed the average keypoints on the whole dataset (200 faces).
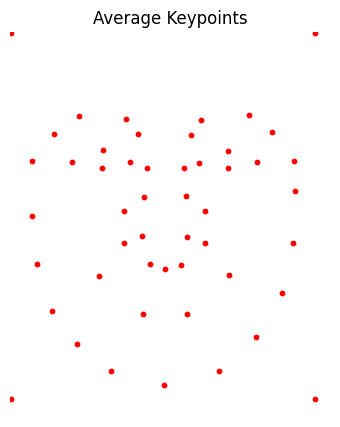
After that, I performed the warping operation to the examples and transform them to the shape of the average face:

Finally, I got the average face of the 200 faces.
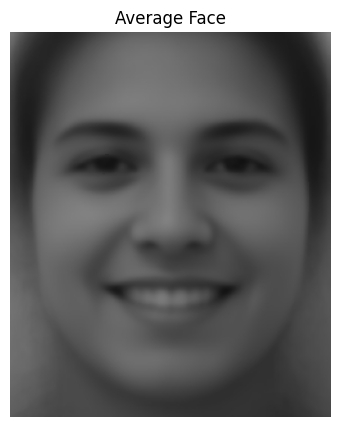
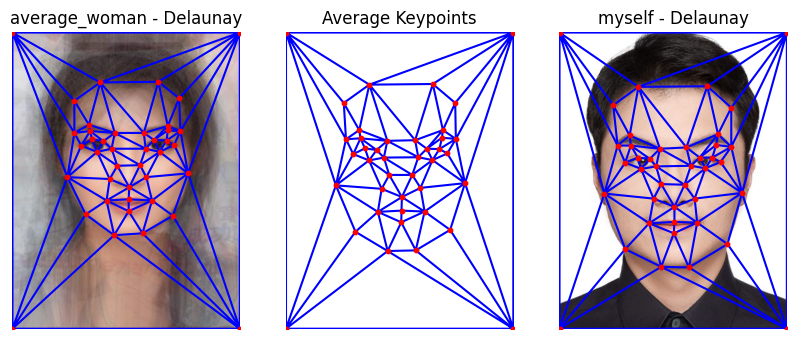
I also performed the same operation to my own face with the average face:
- The second image below is my face warped into the average geometry.
- The fourth image below is the average face warped into my geometry.

Part 5: Caricatures: Extrapolating from the mean
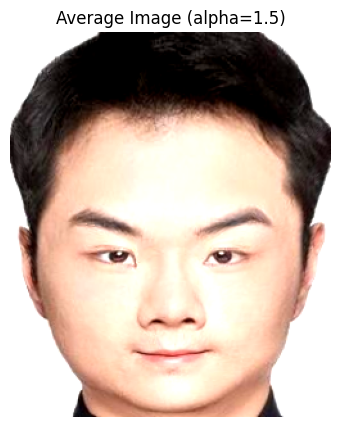
Produced a caricature of my face by extrapolating from the population mean I calculated in the last step.
I achieved this by choosing $\alpha > 1$, I choosed alpha=1.5
Bells and Whistles: Gender Change
I changed the gender of my face using the average face found on www.pinterest.com

